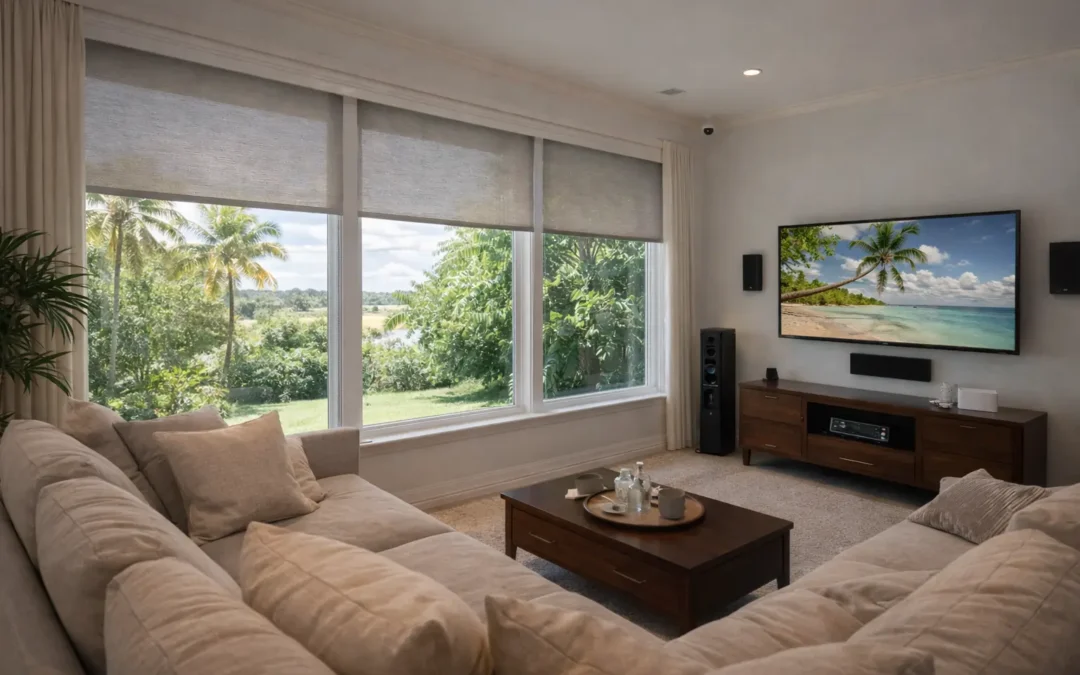
Smart window treatments offer the convenience of adjusting your blinds, shades, or curtains with a simple touch of a button or voice command. Whether you’re looking to improve energy efficiency, add a layer of privacy, or just enjoy the ease of automation, installing smart window treatments is a practical upgrade for any Tampa home.
Choosing the Right Smart Window Treatments
Consider the style and function you desire. Motorized shades, blinds, or curtains come in various materials, colors, and designs, allowing you to match your existing decor. Also, consider the type of control you prefer, such as remote control, smartphone app, or voice control through smart home devices like Alexa or Google Home.
Measuring Your Windows
Accurate measurements are crucial for a smooth installation process. Even if two windows appear to be the same size, they may not be, so do not assume. Measure the width and height of each window carefully, noting the measurements in inches. For inside-mounted treatments, measure from frame to frame, and for outside-mounted options, measure from one side of the window casing to the other. Always double-check your measurements to ensure accuracy and avoid ordering the wrong size, which could lead to delays and additional costs.
Preparing for Installation
Before you start the installation, gather all the necessary tools and equipment. This typically includes a drill, screws, a measuring tape, a level, and a pencil. You must have the installation manual that comes with your smart window treatments, as it will provide specific instructions tailored to the product you purchased.
Next, clear the area around your windows so that you have enough space to work. Remove any existing window treatments and clean the window frame for a solid and secure installation.
Installing the Mounting Brackets
Begin by installing the mounting brackets, which will hold your window treatments in place. Follow the instructions, marking the spots where the brackets will be installed with a pencil. Use a level so that the brackets are perfectly aligned, which is necessary for smooth operation. Drill pilot holes at the marked spots, then attach the brackets securely with screws.
Mounting the Smart Window Treatments
With the brackets in place, it’s time to mount your smart window treatments. This step will vary depending on the type of treatment you selected. Generally, you’ll need to attach the headrail of the blinds or shades to the mounting brackets. For curtains, you’ll secure the motorized curtain rod in the brackets.
Make sure everything is level and securely fastened before moving on to the next step. If your window treatments require batteries, this is the time to insert them.
Connecting to Your Smart Home System
Once the physical installation is complete, the next step is connecting your smart window treatments to your smart home system. Most smart window treatments come with a dedicated app that guides you through the pairing process. Download the app to your smartphone or tablet and follow the prompts to connect your new window treatments to your home’s Wi-Fi network.
For those who prefer voice control, many shade manufacturers offer a part or accessory that connects the shades directly to platforms like Alexa, Google Home, or Apple HomeKit. Follow the manufacturer’s instructions to integrate your window treatments with these smart home devices for seamless voice command functionality.
Testing and Adjusting
After everything is connected, test your smart window treatments to confirm that they work as expected. Open and close them using your preferred control method and check for any issues, such as uneven movement or connectivity problems. If necessary, adjust the mounting brackets or recalibrate the system through the app.
Ready to upgrade your living space with custom window treatments? Our team at Hive offers tailored solutions that blend style, functionality, and smart technology to fit your unique needs. Contact us today.


